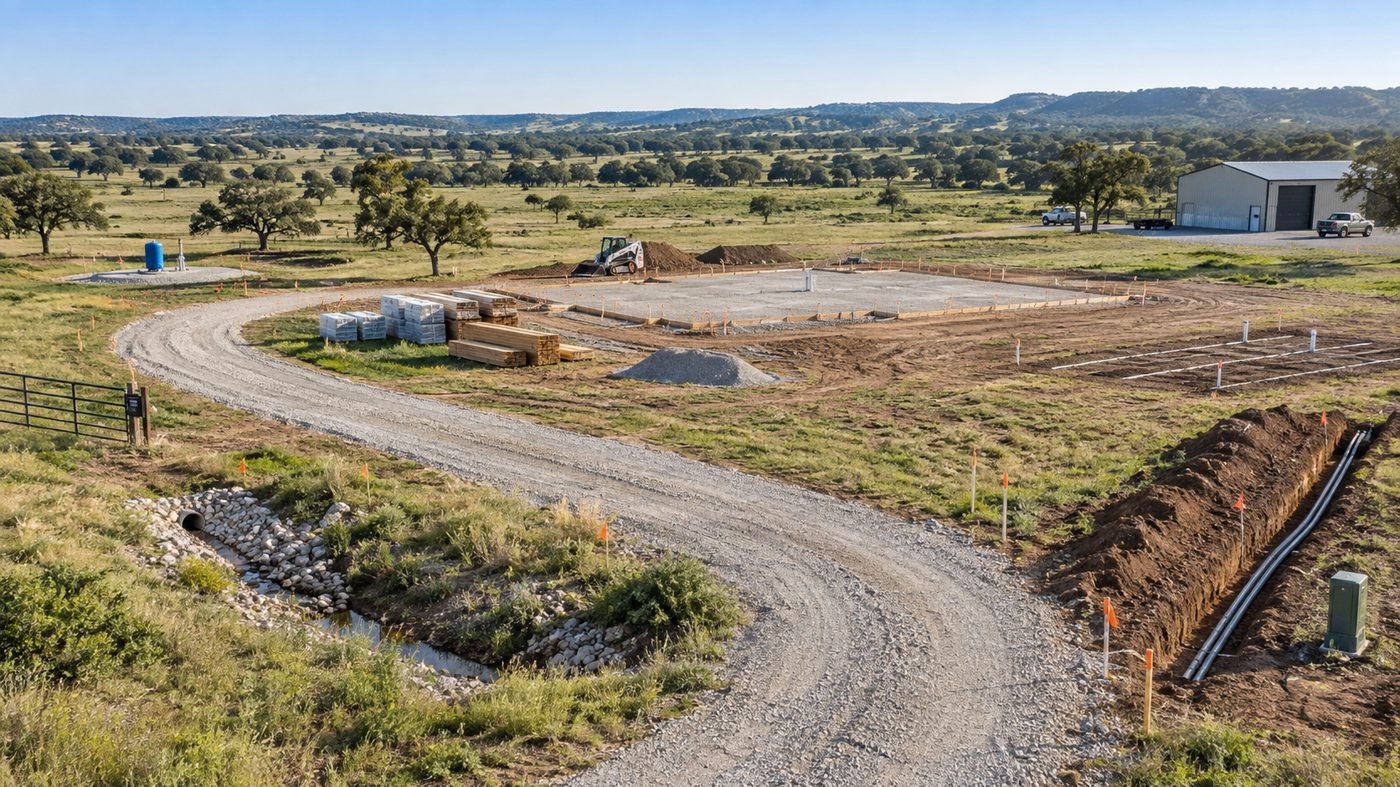
Treat the land as a project before you treat the house as a project
Building on rural land is not simply a house build on a larger lot. The land itself has to support access, drainage, utilities, water, wastewater, construction traffic, the building pad, and the long-term layout of everything you plan to add later.
The biggest mistakes usually happen when owners begin pricing the house before confirming the site. A complete rural project plan should show where the home, driveway, utilities, well, septic, shop, future pool, drainage, propane, generator, and other improvements can actually coexist.
Phase 1: verify the property before design work gets expensive
Start with the legal and physical constraints. Review the survey, title commitment, easements, deed restrictions, subdivision documents, road access, flood information, utility corridors, and any county or local development requirements.
Walk the property with the survey if possible. Identify steep areas, drainage paths, low spots, rock, heavy vegetation, existing improvements, overhead lines, pipelines, neighboring access, and anything that could affect where the homesite belongs.
- Current boundary survey
- Recorded easements and rights-of-way
- Deed restrictions or subdivision covenants
- Legal access to a public road
- Floodplain and drainage review
- Existing wells, septic systems, tanks, lines, and structures
- Utility provider and service-area verification
Phase 2: choose the homesite before finalizing the floor plan
The best-looking spot on the property is not always the cheapest or easiest place to build. Compare elevation, drainage, soil, driveway distance, utility distance, septic area, well location, views, orientation, construction access, and future expansion.
Moving the house several hundred feet deeper into a tract can materially increase driveway, trenching, electric, water, and communications costs. On the other hand, building too close to the road can sacrifice privacy and limit the overall site plan.
Stake a preliminary house location before final design so the building and site plans develop together.
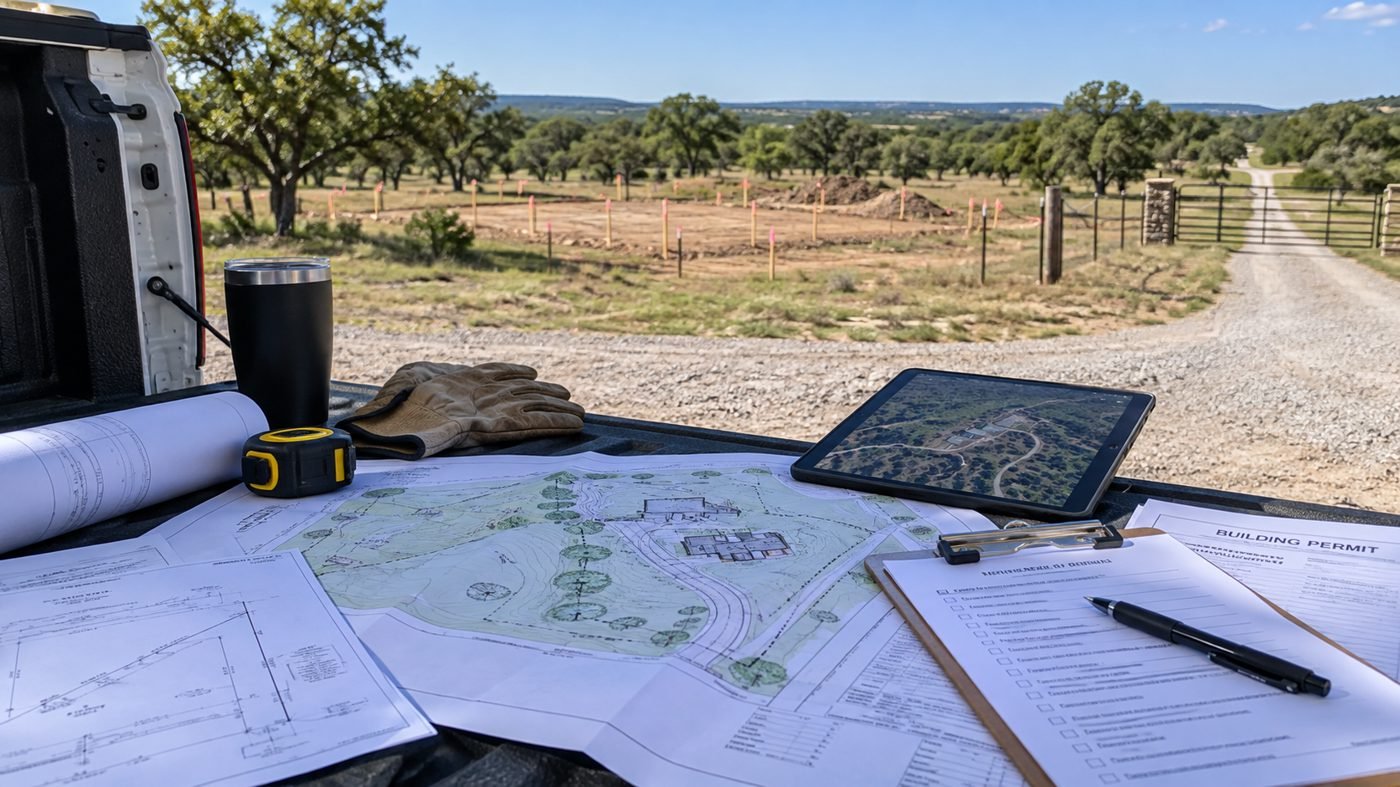
Phase 3: plan the driveway and construction access early
Construction vehicles need reliable access long before the home is finished. A rural driveway may need a permitted entrance, culvert, drainage work, clearing, base material, and enough width and turning radius for concrete trucks, delivery trailers, cranes, drilling rigs, septic equipment, and emergency vehicles.
Do not finish the decorative driveway too early. Heavy construction traffic can damage final surfacing, shoulders, drainage, and gates. Build enough access for construction, then finish the driveway later in the project.
- Road entrance and culvert
- Construction width and turning radius
- All-weather base material
- Delivery and crane access
- Temporary gate or security
- Drainage along and across the drive
Phase 4: establish drainage and finished-floor elevation
Before major earthwork, determine where stormwater naturally moves and how the proposed house changes that flow. The building pad should not block drainage or create a low area against the foundation.
Set a finished-floor elevation and benchmark that the site contractor, foundation contractor, utility crews, and builder can all reference. Changing elevation late can affect driveway grades, septic, utilities, porches, retaining walls, and drainage.
Phase 5: confirm electric service and the point of delivery
Identify the serving electric utility and start the new-service process early. A new rural home may require utility design, easements, poles, transformer work, underground facilities, customer trenching, or a long private service run.
Oncor, for example, directs new single-family residential construction through its new-service process when electrical infrastructure must be installed at a location without existing service. Other cooperatives and utilities have their own processes, standards, and extension policies.
Confirm the meter location, overhead or underground design, trench responsibilities, transformer requirements, service size, and future loads such as a shop, well pump, pool, EV charging, gate, or standby generator.
Phase 6: solve the water plan
Determine whether the property will use public water, a private well, or both. If public water is available, confirm meter availability, connection fees, pressure, line location, and private service distance.
If the property needs a well, review nearby well records and local groundwater-district requirements before choosing the drilling location. Texas Water Development Board guidance notes that groundwater conservation districts can have their own well rules, and the agency recommends obtaining well records when evaluating private-well property.
A well location should be coordinated with septic, the home, driveway, electrical service, future buildings, and drilling-rig access.
Phase 7: complete septic planning before locking in every structure
Where public sewer is unavailable, septic should be treated as a major site-design constraint. TCEQ states that on-site sewage facilities generally require a permit and approved plan, with the system selected after a site evaluation that considers local conditions.
That evaluation can determine whether the property supports a conventional system or requires an alternative design. The disposal area and applicable setbacks can affect where the home, well, shop, driveway, pool, barn, and future guest house can go.
Do not use the leftover corner of the property for septic. Reserve the septic area as part of the master site plan.
Phase 8: lay out all underground utilities before trenching
Coordinate electric, water, communications, gas or propane piping, septic force mains where applicable, gate power, lighting, irrigation, and future conduits before excavation begins.
Utility separations and code requirements can prevent everything from sharing one trench, but the routes can still be coordinated to reduce repeated excavation and conflicts.
Install spare conduit in strategic locations when the incremental cost is small. Future gate power, cameras, fiber, shop service, landscape lighting, or a pool can be much more expensive to add after driveways and landscaping are complete.
Phase 9: clear only what the project needs
Avoid clearing the entire property simply because equipment is already on site. Preserve valuable trees and vegetation where they do not conflict with construction, drainage, septic, utilities, fire access, or the final use of the land.
Separate forestry mulching and selective clearing from stump removal and true construction clearing. Areas beneath the building pad, driveway, utilities, and structures may need complete organic removal and additional excavation.
Phase 10: build the house pad correctly
A building pad is part of the foundation system, not just a flat patch of dirt. The site contractor and foundation team should agree on pad dimensions, elevation, fill material, lift thickness, moisture conditioning, compaction requirements, and testing.
Poor fill, buried organic material, uncontrolled placement, or uncertain compaction can create expensive foundation problems later. Document responsibility for accepting the pad before concrete work starts.
- Strip unsuitable topsoil and organic material
- Use specified fill material
- Place fill in controlled lifts
- Manage moisture during compaction
- Test compaction where required
- Maintain positive drainage away from the pad
Phase 11: coordinate foundation penetrations before the slab
Underslab plumbing, electrical conduit, sleeves, water lines, drains, and other penetrations need to match the final building plan before the foundation is poured.
Changes become far more expensive after concrete. Verify bathroom locations, kitchen layout, island utilities, mechanical rooms, exterior hose bibs, future additions, generator conduits, and any shop or outdoor-kitchen connections.
Phase 12: sequence utility work around construction
Temporary power and construction water may be needed before permanent service is ready. Plan how crews will operate during the early phases and when permanent utilities must be commissioned.
The final sequence varies by project, but the general principle is consistent: finish the planning and underground coordination before permanent surfaces, landscaping, fences, and decorative site work make access difficult.
Phase 13: permit and inspect each system with the correct authority
Rural Texas does not have one universal permit path. Counties, cities, authorized septic agents, groundwater districts, utilities, floodplain administrators, and other entities can each control a different piece of the project.
For septic, TCEQ notes that permits and approved planning materials are typically required and that local authorized authorities frequently administer the process. Electric utilities also have their own new-construction requirements before service is energized.
Build a permit and inspection matrix for the property instead of assuming the builder handles every outside agency.
Phase 14: leave room for future buildings and systems
Acreage projects often grow. A future shop, guest house, barn, pool, RV pad, solar array, generator, garden, pond, gate, or second driveway can conflict with utilities and septic if it was not considered initially.
Reserve corridors and expansion areas on the site plan. Oversizing selected conduit, electrical capacity, water lines, or propane storage can sometimes be cheaper during the first build than reopening finished ground later.
Phase 15: delay final site finishes until heavy work is complete
Final gravel, asphalt, concrete flatwork, landscaping, irrigation, fencing, gates, and lawns are vulnerable to construction traffic. Complete the heavy excavation, drilling, septic work, foundation deliveries, utility installation, and major material deliveries first.
The finished property should be the final layer of the project, not something crews repeatedly tear up to reach buried infrastructure.
A practical order of operations for rural Texas land
Every site is different, but the following sequence is a strong starting framework. Some activities overlap, and engineering or permit requirements may change the order.
- 1. Survey, title, restrictions, access, and due diligence
- 2. Preliminary site plan and homesite selection
- 3. Utility, water, septic, drainage, and access investigations
- 4. Building design coordinated with the site
- 5. Permits, utility applications, and required studies
- 6. Construction entrance and basic access
- 7. Selective clearing and rough site work
- 8. Drainage, elevation, and building-pad preparation
- 9. Well, septic, and major underground utility work as sequencing allows
- 10. Foundation and underslab systems
- 11. Building construction
- 12. Permanent service commissioning and final utility connections
- 13. Final driveway, grading, drainage stabilization, fencing, and landscaping
Build a rural development budget outside the house contract
The home price rarely includes every site cost. Keep a separate land-development budget for survey, clearing, driveway, drainage, pad, electric extension, private electrical service, water, septic, propane, communications, permits, testing, engineering, and final site restoration.
Add contingency for unknown underground conditions, rock, longer utility runs, drainage changes, and scope gaps between contractors. Rural projects often fail budget-wise because each individual bid looks reasonable but the owner never totals the complete site package.
Complete rural building checklist
Use this as the final preconstruction review before heavy equipment arrives.
- Boundary and easements verified
- Legal road access confirmed
- Flood and drainage issues reviewed
- Homesite staked
- House orientation and finished-floor elevation established
- Construction entrance planned
- Electric provider and service design confirmed
- Water source confirmed
- Well planning or water meter completed
- Septic site evaluation and permitting underway
- Utility routes coordinated
- Propane or natural-gas plan confirmed
- Internet and communications plan confirmed
- Building pad specification established
- Future shop, pool, guest house, barn, and driveway areas reserved
- Permit and inspection responsibilities assigned
- Site-work scope and builder scope reconciled
- Development budget and contingency documented
- Final site finishes intentionally scheduled after heavy construction
Keep researching
Acreage Planning resources
Due diligence, development sequencing, utilities, access, and the decisions that shape a rural property project.
Sources & methodology
Where this information comes from
Cost figures are planning references rather than contractor quotes. Permitting, system-selection, and location-specific guidance should be verified with the appropriate local authority or qualified professional. AcreageReady uses source-backed, AI-assisted editorial workflows and remains responsible for the material it publishes. Read how we research, edit, and correct guides.
Common questions
Frequently asked questions
What should I do first when building on rural land in Texas?
Start with the property itself: verify the survey, access, easements, restrictions, drainage, utilities, water, and wastewater options before finalizing the house design. The homesite should be chosen around the complete site plan rather than the floor plan alone.
Should septic be designed before the house?
The house and septic should be coordinated early. TCEQ requires site evaluation and generally a permit and approved plan for an OSSF. Septic feasibility, setbacks, and disposal area can affect where the house and other improvements can be located.
When should I contact the electric utility?
Early in site planning. Rural new service may require utility design, easements, poles, transformer work, trenching, or long extensions. Starting the process before construction helps prevent electrical service from becoming a schedule bottleneck.
Do I need a building permit in rural Texas?
There is no single statewide rural building-permit process that applies identically everywhere. Requirements depend on the county, municipality, subdivision, floodplain, septic authority, groundwater district, utility, and type of work. Verify every applicable authority for the parcel.
Should utilities go in before the foundation?
Some underground work and sleeves must be planned before the foundation, while other permanent utility work may happen later. Coordinate the foundation, plumbing, electrical, well, septic, and utility plans before trenching or pouring concrete.
How much contingency should I carry for rural site development?
There is no universal percentage, but rural development has more site uncertainty than a typical finished lot. Carry enough contingency to absorb unknown rock, drainage, utility distance, excavation, soil, and scope gaps without jeopardizing the home build.
Ready to talk with a local professional?
Share your location and project details so AcreageReady can identify relevant providers as the network grows.
Get a free quote